fiberglass Pool refinishing
HOME / fiberglass pool refinishing
fiberglass Pool doctor
Fiberglass Pool Refinishing
Welcome to our process for fiberglass pool refinishing! We’re excited to share how we can transform your pool into a stunning, like-new oasis. Our step-by-step process not only makes your pool look amazing but also boosts its durability and lifespan. From the initial draining and assessment to the final touches that bring out a vibrant new look, we’ve got everything covered. So, grab a seat and read on to see how our expert team can revive your pool and turn it into the centerpiece of your backyard. Let’s dive into the details together!
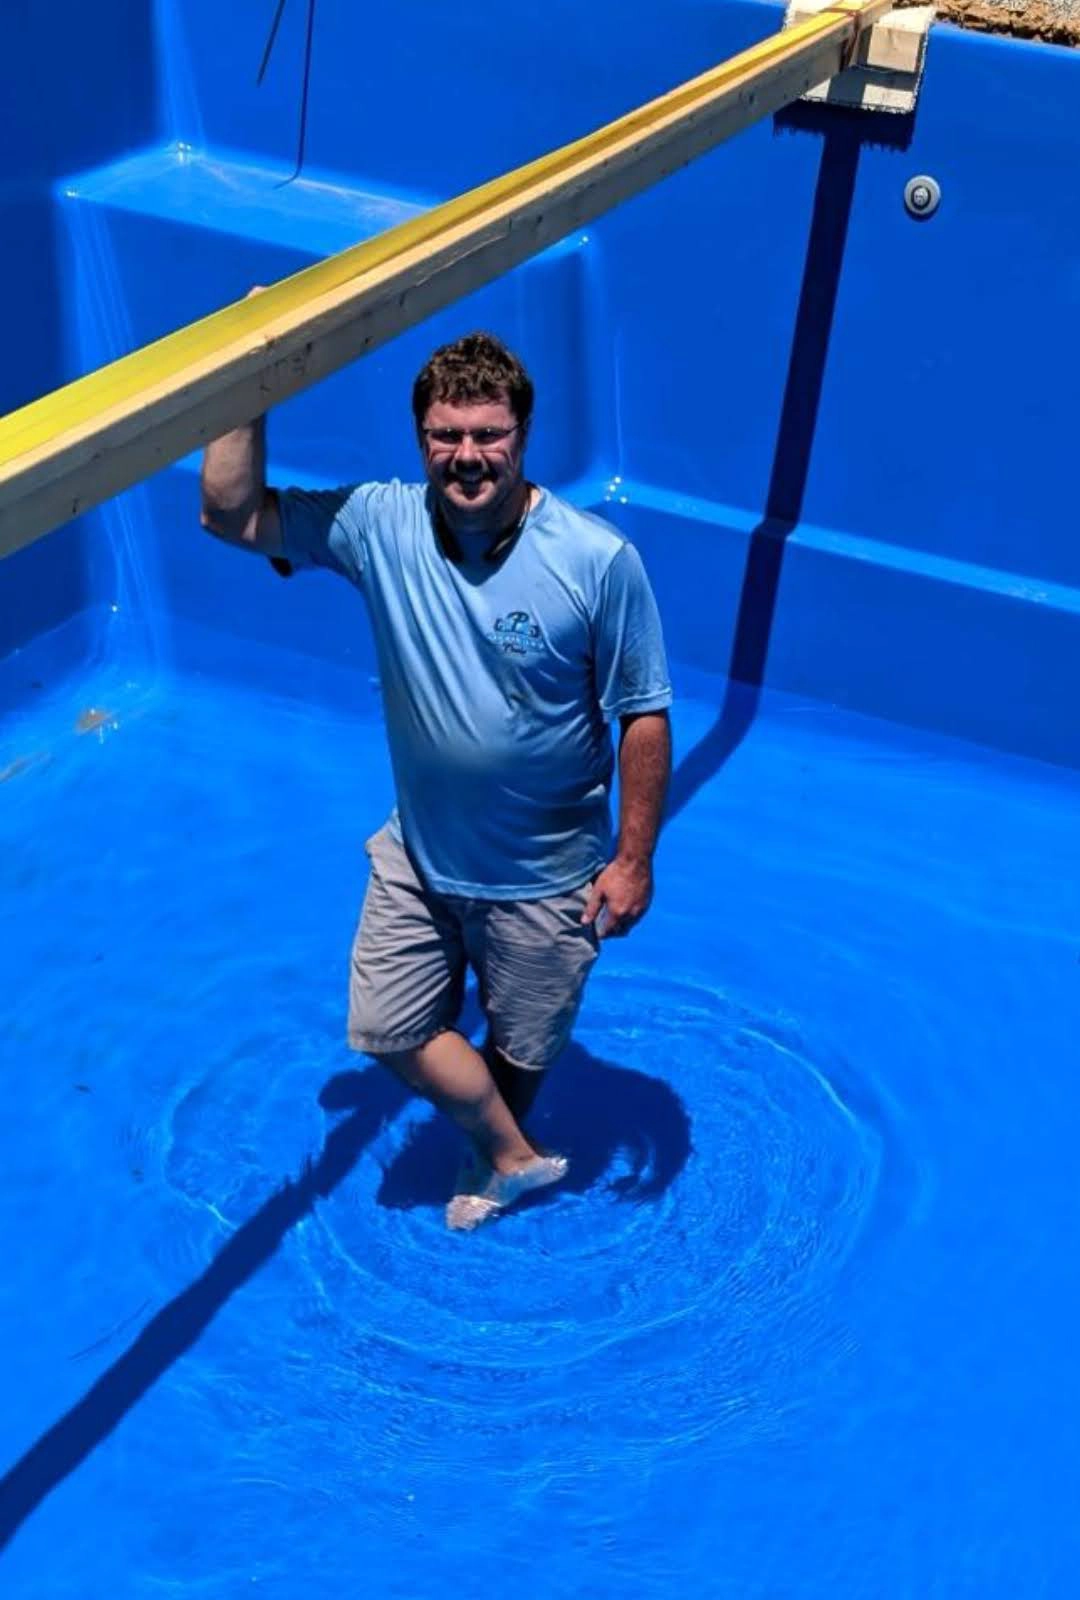
The Best Fiberglass Pool Finish
Over 15 Years Of Experience
Tyler Pippinger
Owner
Our Pool Refinishing Process
How we Do it!

drain the pool
We use high volume water pumps to quickly drain your pool allowing us to assess and stabalize the pool against water table pressure.

vapor blast
We then use a glass based vapor blasting system to properly prepare the surface for our marine grade gel coat and pebble finish.

mask pool deck
We meticulously mask and protect the pool deck, pool accessories and other items around your pool from overspray.

Clean & Gel coat
We then clean the pool with acetone and apply the highest quality marine grade gel coat to obtain a factory like finish.

pebble finish
A pebble finish is then applied to create a multi-color textured, non-porous rock hard finish that enhances the appearance of the pool.

remove masking
We then remove all masking and clean up and haul away all debris. Preparing your pool for the most exciting step in the pool refinishing process.

filling the pool
24 Hours after our gel coat is applied your pool is ready to fill with water and should be done at the time provided from our team in your after care instructions.

Enjoy Your Pool
That is it! In about 1 week from start to finish your pool is ready to enjoy with your family and friends once again with a finish that will last for years to come.
step 1
Drain The pool
We start each pool project with a consistent approach. First, we rapidly drain the pool using high-capacity pumps, all while evaluating and stabilizing the water table. If we detect the presence of water beneath the pool, we will drill a relief hole at its deepest point. Certain pools may necessitate extra dewatering techniques, such as well pointing. Rest assured, we take every precaution to safeguard your property and will clearly outline the necessary steps and any potential additional costs.
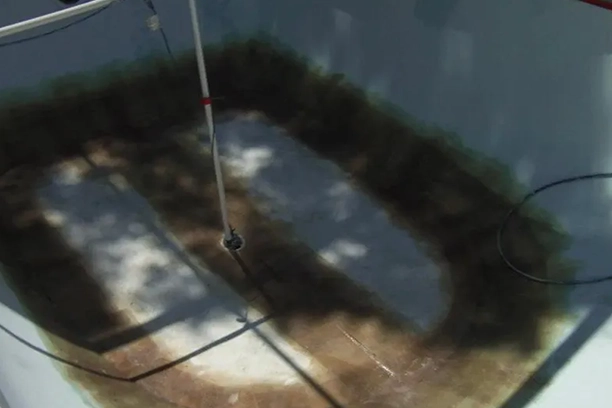
Pool Draining
Step 1
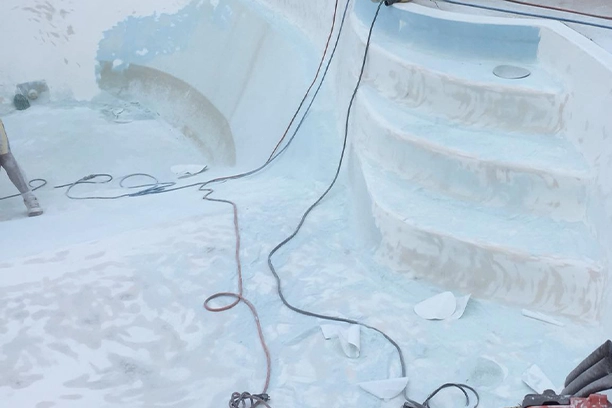
Pool preparation
Step 2
Step 2
vapor blast
The next phase involves using crushed glass for vapor blasting, which effectively prepares the pool surface for the new finish. This technique is not only the cleanest but also the most efficient method for sanding a pool, minimizing any potential damage to the pool shell while allowing us to reach every contour and angle. If there’s an existing coating on the pool, we may need to remove it to ensure a strong chemical bond between the new finish and the original substrate. Many other companies face challenges at this stage, but our meticulous approach ensures a flawless outcome.
step 3
Mask pool deck
To ensure the deck remains protected, we meticulously mask it off using poly tape and 4 mil plastic. This thorough coverage safeguards the deck from any overspray during the process. We also ask our customers to assist by either removing patio furniture entirely or consolidating it into a designated area. This not only provides us with the necessary space to work efficiently but also helps protect the items from overspray. Your cooperation in this step allows us to maintain a safe and clean working environment while protecting your property.
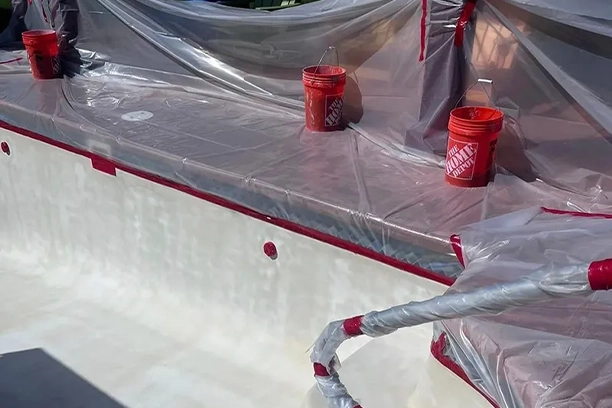
Mask Pool Deck
Step 3
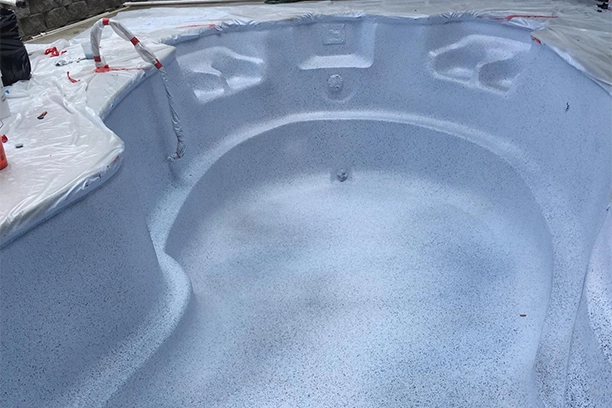
Clean & Gel Coat
Step 4
Step 4
clean & gel coat
Next, we meticulously wipe down the entire pool surface with acetone to remove any impurities or contaminants that may have settled. This step is crucial for ensuring a clean and smooth application area. Following this, we spray the pool with a top-tier marine-grade gelcoat, enhanced with specific additives we’ve carefully selected to maximize the gelcoat’s hardness and durability. These enhancements allow the gelcoat to reach its full potential, providing a robust and long-lasting finish. Our attention to detail in this process guarantees a pristine and resilient surface for your pool, ensuring it remains beautiful and functional for years to come.
step 5
apply pebble finish
Next, we apply our signature pebble-like finish, which consists of multi-color gelcoat bursts in a dot pattern. This innovative technique creates a textured, non-porous, and rock-hard surface that not only enhances the pool’s aesthetic but also effectively conceals any blemishes or imperfections. This unique finish manipulates the water’s appearance, resulting in a vibrant blue hue that rivals the stunning waters of the Caribbean, adding a breathtaking and inviting look to your pool.
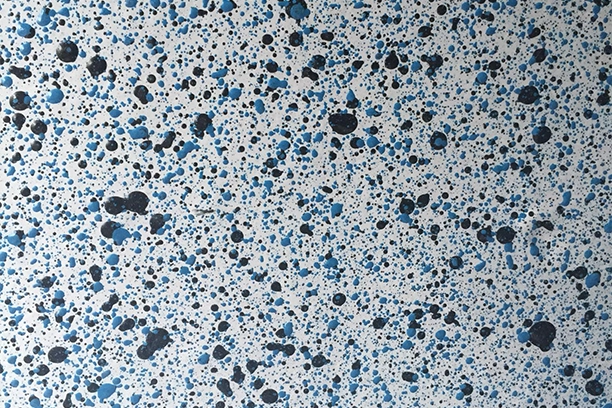
pebble finish
Step 5
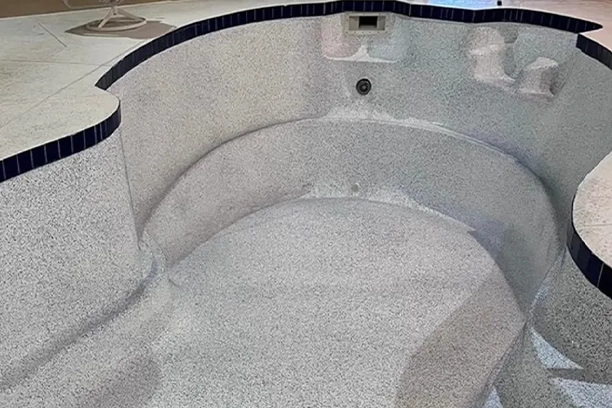
remove masking
Step 6
Step 6
remove masking
Once the finish is complete, we meticulously peel back the protective plastic to reveal the beautiful new surface of your pool. We then take the time to thoroughly clean the area, ensuring every bit of debris and material is removed. Our team hauls away all trash and leftover materials, leaving your pool area immaculate and ready for you to enjoy. This step ensures that your space is as pristine as the newly finished pool itself, allowing you to fully appreciate the transformation.
step 7
fill the pool with water
Twenty-four hours after the gel coat application, the homeowner can begin filling the pool with water. As the pool fills, it’s essential to monitor and adjust the water quality to ensure a balanced and safe swimming environment. This involves testing and regulating the pH levels, alkalinity, and chlorine to achieve the ideal chemical balance. Proper water balancing not only ensures a pleasant swimming experience but also helps maintain the longevity and appearance of the newly applied gel coat.
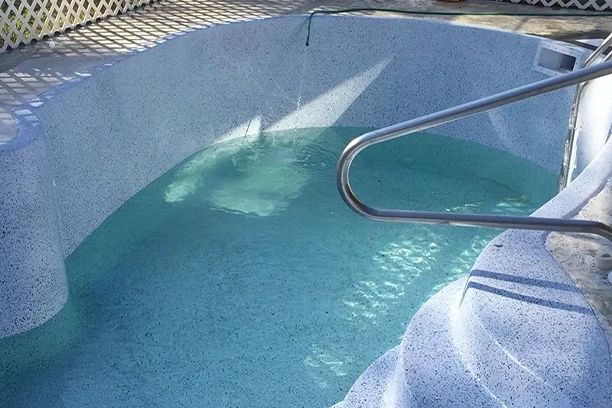
Fill The Pool
Step 7
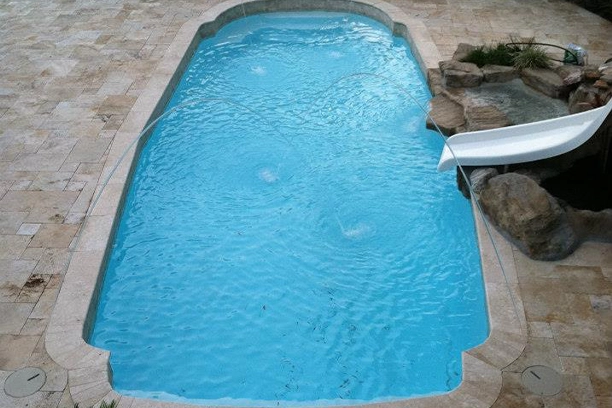
enjoy your pool
Step 8
Step 8
get back to enjoying your pool!
The final step is to get back to enjoying your pool. With the new gel coat perfectly applied, the water balanced, and the area cleaned up, your pool is ready to provide years of relaxation and fun. Dive into the sparkling blue water, lounge by the poolside, and relish the refreshed, inviting atmosphere. Whether you’re hosting gatherings, spending quality time with family, or simply unwinding on your own, your beautifully restored pool is the perfect backdrop for creating cherished memories.
Easy To Get A Quote
HOW IT WORKS
There are a lot of things to consider when getting a quote for pool deck refinishing and repair. Our process is simple! We start by requesting the dimensions of your pool deck and some pictures of your pool deck and pictures of any problem areas you are aware of. We will get you a ballpark quote then discuss your options with you to get you a final quote.
Submit your service request.
We send you an initial quote.
Discuss your repair and refinishing options.
Schedule your fiberglass pool service.
We Make a Splash with
Our Customers
Your satisfaction is our priority !
“ I can’t say enough about the Fiberglass Pool Doctor crew. They were professional, thorough, hard working, and really nice! They took my 26 year old fiberglass pool and made it like new as well as resurfacing my pool deck. I highly recommend them!”
